Want to know how to repaint a bedroom and get results that look like they were done by a pro? Yes, you can achieve a fantastic finish yourself with the right preparation, tools, and techniques. This comprehensive guide covers everything from choosing the perfect color to applying the final coat, so you can transform your space into a relaxing retreat.
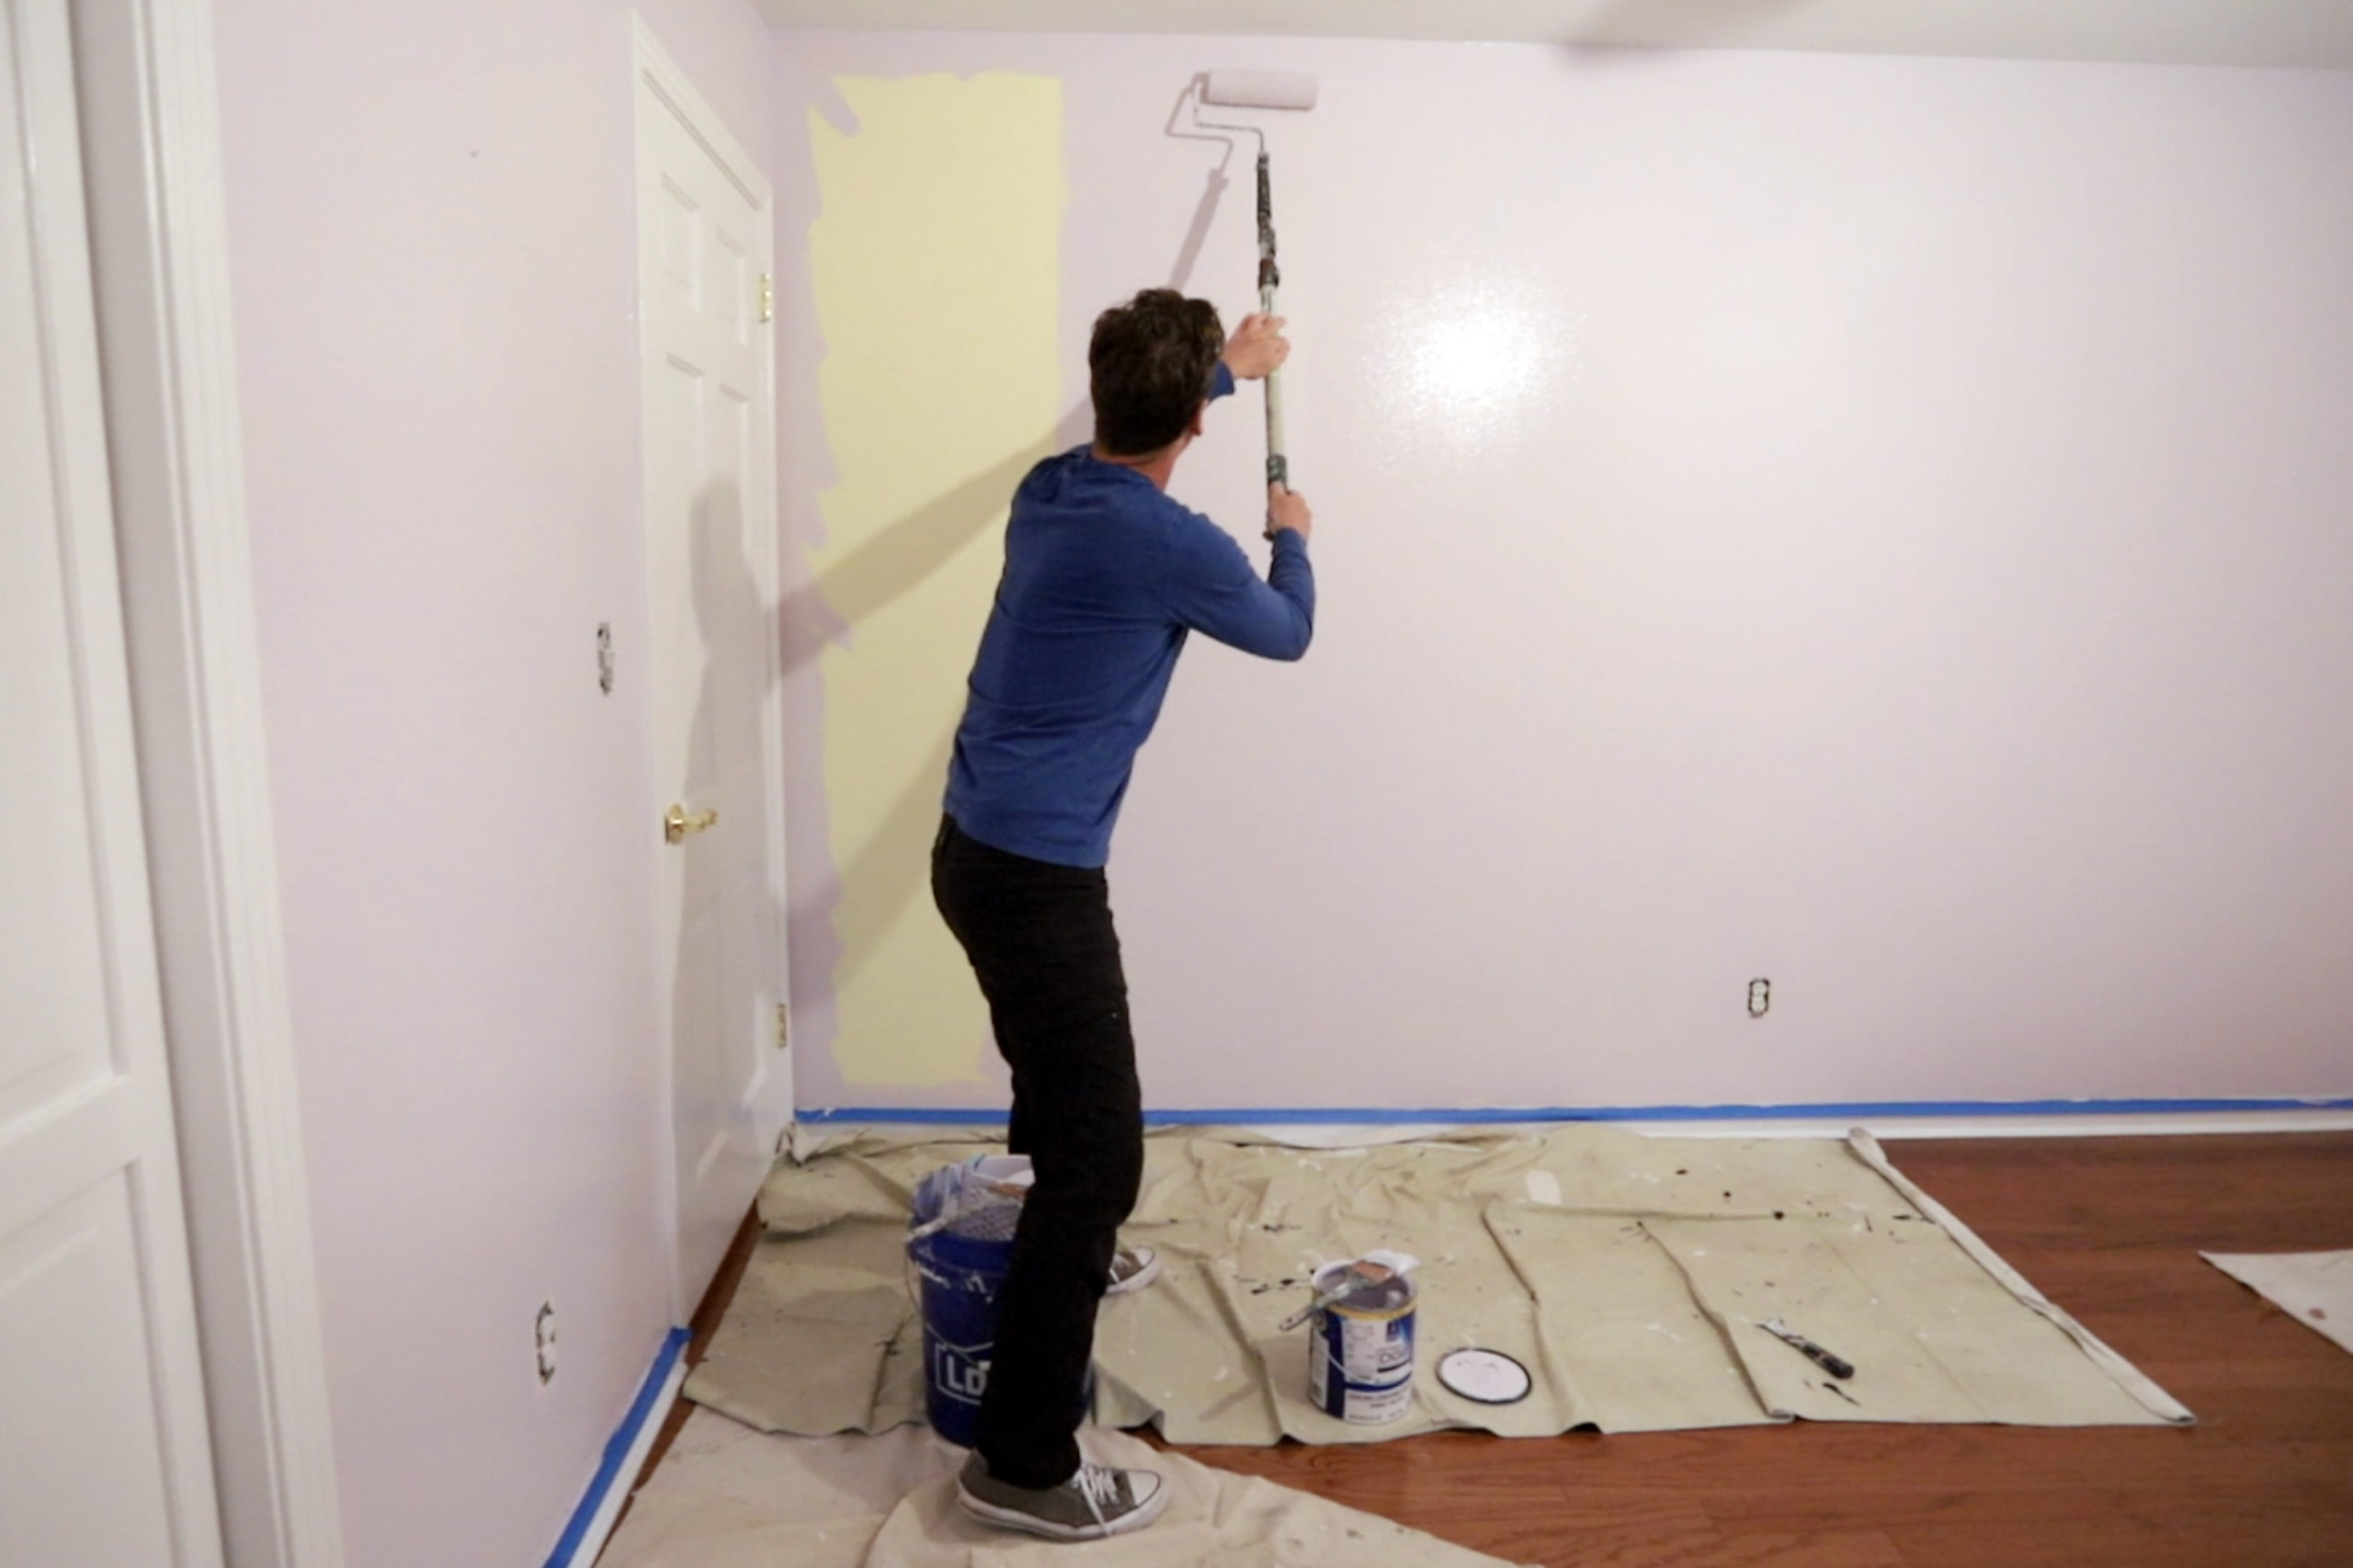
Image Source: www.camelsandchocolate.com
Why Repaint Your Bedroom?
A fresh coat of paint can do wonders for a bedroom. It’s not just about covering up old, faded colors or marks. It’s about creating a space that feels new, clean, and inviting. Here are some reasons to consider a bedroom painting makeover:
- Boost Your Mood: Color has a powerful effect on our emotions. A fresh, well-chosen color can improve your mood and create a more relaxing atmosphere.
- Increase Home Value: A well-maintained and freshly painted bedroom can significantly increase the value of your home.
- Personalize Your Space: Painting allows you to express your personal style and create a space that truly reflects your taste.
- Address Wear and Tear: Over time, walls can become scuffed, stained, and faded. Repainting is a great way to address these issues and restore the room to its former glory.
- Update the Look: Trends change, and your bedroom might be stuck in a past decade. Repainting is a quick and easy way to update the look and feel of your space.
Planning Your Bedroom Painting Project
Before you even think about picking up a brush, careful planning is key. This will save you time, money, and frustration in the long run.
How to Choose Bedroom Paint Color
Choosing the right paint color is one of the most important decisions you’ll make. Here’s a breakdown of how to choose bedroom paint color:
- Consider the Room’s Size and Light: Lighter colors make small rooms feel larger and brighter. Darker colors can make large rooms feel cozier. Consider how much natural light the room receives. Darker rooms benefit from lighter, brighter shades.
- Think About the Mood You Want to Create: Cool colors (blues, greens, purples) are generally calming and relaxing, ideal for bedrooms. Warm colors (reds, oranges, yellows) are more energetic and stimulating, and may be better suited to other rooms.
- Look at Existing Décor: Consider the colors of your furniture, bedding, and other accessories. Choose a paint color that complements these elements.
- Test Paint Samples: Never choose a paint color based solely on a paint chip or online image. Buy small samples of several colors and paint them on a section of your wall. Observe the colors at different times of day and in different lighting conditions.
-
Consider Paint Sheen: The sheen of your paint affects its appearance and durability.
- Matte: Offers a flat, non-reflective finish. Hides imperfections well but is less durable and harder to clean. Best for low-traffic areas.
- Eggshell: Has a slight sheen and is more durable than matte. Good for bedrooms and living rooms.
- Satin: Offers a higher sheen and is more durable and easier to clean than eggshell. Suitable for kitchens and bathrooms.
- Semi-Gloss: Very durable and easy to clean. Best for trim, doors, and cabinets.
- Gloss: The most durable and easiest to clean. Used for trim and accent pieces.
Choosing the Best Bedroom Paint
The type of paint you choose is just as important as the color. Here are some factors to consider when selecting the best bedroom paint:
- Type of Paint:
- Latex Paint: Water-based paint that is easy to apply, clean up, and is low in VOCs (Volatile Organic Compounds). It’s a great choice for bedroom walls.
- Acrylic Paint: Another water-based option that is very durable and resistant to mildew. Good for bathrooms and areas with high humidity.
- Oil-Based Paint: Durable and provides a smooth, hard finish. It has high VOCs, is harder to clean, and requires more effort to apply. Best for trim and doors but less common nowadays.
- VOCs (Volatile Organic Compounds): Choose low-VOC or zero-VOC paints to minimize the release of harmful chemicals into your home. This is especially important for bedrooms, where you spend a lot of time.
-
Primer: Primer is a base coat that helps paint adhere better to the surface. It also seals the surface, prevents stains from bleeding through, and provides a uniform surface for the topcoat.
- When to Use Primer:
- Over new drywall
- Over glossy paint
- When painting a light color over a dark color
- When painting over stains or imperfections
- When painting over porous surfaces
- When to Use Primer:
Gathering Your Supplies
Having the right tools and supplies is essential for a successful bedroom painting project. Here’s a list of what you’ll need:
- Paint: Calculate how much paint you’ll need based on the size of your room. A gallon of paint typically covers 350-400 square feet.
- Primer: If needed, choose a primer that is compatible with your paint type.
- Paintbrushes: Choose high-quality brushes in various sizes for different tasks.
- Angled Brush: For cutting in edges and painting trim.
- Flat Brush: For painting larger surfaces.
- Paint Rollers: Use a roller with the appropriate nap length for your wall texture.
- Smooth Walls: Use a roller with a short nap (1/4″ – 3/8″).
- Textured Walls: Use a roller with a longer nap (1/2″ – 3/4″).
- Roller Frame and Tray: Essential for applying paint with a roller.
- Painter’s Tape: Use high-quality painter’s tape to protect trim, windows, and doors.
- Drop Cloths: Protect your floors and furniture from paint splatters.
- Spackle or Joint Compound: For filling holes and imperfections in the walls.
- Sanding Sponge or Sandpaper: For smoothing out patched areas.
- Putty Knife: For applying spackle or joint compound.
- Cleaning Supplies: Including soap, water, and sponges.
- Extension Pole: For painting high walls and ceilings.
- Ladder or Step Stool: For reaching high areas.
- Paint Can Opener: For opening paint cans safely and easily.
- Stir Sticks: For mixing paint thoroughly.
- Rags: For wiping up spills and cleaning brushes.
Bedroom Wall Paint Preparation: The Key to a Flawless Finish
Before you even think about color, investing time in meticulous preparation is your secret weapon for a flawless, professional polish. A surface that’s been given the royal treatment is the bedrock of paint that clings with confidence, ultimately paving the way for a finish so smooth and uniform, it’s a work of art.
Cleaning the Walls
- Remove Dust and Dirt: Use a damp cloth or sponge to wipe down the walls, removing any dust, dirt, or cobwebs.
- Wash Away Grease and Grime: For areas with grease or grime, use a mild detergent and warm water. Rinse thoroughly with clean water.
- Allow Walls to Dry Completely: Before moving on to the next step, make sure the walls are completely dry.
Repairing Imperfections
- Fill Holes and Cracks: Use spackle or joint compound to fill any holes, cracks, or dents in the walls. Apply the compound with a putty knife, spreading it evenly over the area.
- Sand Smooth: Once the compound is dry, use a sanding sponge or sandpaper to smooth out the patched areas. Feather the edges to blend them seamlessly with the surrounding wall.
- Prime Patched Areas: Apply a coat of primer to the patched areas to ensure uniform paint adhesion.
Taping Off Trim and Edges
- Apply Painter’s Tape: Use high-quality painter’s tape to protect trim, windows, doors, and other areas you don’t want to paint.
- Press Firmly: Press the tape firmly against the surface to create a tight seal.
- Remove Excess Tape: Trim any excess tape with a utility knife.
Protecting Your Belongings
- Remove Furniture: If possible, remove all furniture from the room.
- Cover Remaining Furniture: Cover any remaining furniture with drop cloths.
- Protect the Floor: Cover the floor with drop cloths to protect it from paint splatters.
Bedroom Painting Techniques: Achieving Professional Results
Now that your room is prepped, it’s time to start painting. These bedroom painting techniques will help you achieve a professional-looking finish.
Priming the Walls (If Necessary)
- Stir the Primer: Stir the primer thoroughly to ensure it is evenly mixed.
- Apply the Primer: Use a brush or roller to apply a thin, even coat of primer to the walls.
- Allow to Dry Completely: Allow the primer to dry completely before applying the paint.
Cutting In
- Load Your Brush: Dip your angled brush into the paint, removing any excess paint.
- Paint the Edges: Carefully paint a 2-3 inch strip along the edges of the walls, where they meet the trim, ceiling, or other surfaces. This is called “cutting in.”
- Maintain a Wet Edge: Keep a wet edge to avoid leaving brush marks.
Rolling the Walls
- Load the Roller: Dip the roller into the paint tray, making sure to coat it evenly.
- Roll the Walls: Apply the paint to the walls in a “W” or “M” pattern, overlapping each stroke slightly.
- Maintain a Wet Edge: Keep a wet edge to avoid leaving roller marks.
- Apply Even Pressure: Apply even pressure to the roller to ensure a uniform coat of paint.
Applying a Second Coat
- Allow the First Coat to Dry: Allow the first coat of paint to dry completely before applying a second coat.
- Repeat the Process: Repeat the cutting in and rolling process for the second coat.
- Inspect for Missed Spots: After the second coat is dry, inspect the walls for any missed spots or imperfections. Touch up as needed.
Finishing Touches for Your DIY Bedroom Makeover
Once the paint is dry, it’s time to add the finishing touches.
Removing the Tape
- Peel Off the Tape: Carefully peel off the painter’s tape at a 45-degree angle.
- Score the Edge (Optional): If the paint is peeling off with the tape, score the edge of the tape with a utility knife before removing it.
Cleaning Up
- Wash Your Brushes and Rollers: Wash your brushes and rollers thoroughly with soap and water.
- Store Paint Properly: Store any remaining paint in an airtight container in a cool, dry place.
- Dispose of Waste Properly: Dispose of paint cans, brushes, and other waste materials according to local regulations.
Replacing Furniture and Decor
- Return Furniture to the Room: Carefully return your furniture to the room.
- Hang Pictures and Decor: Hang any pictures, mirrors, or other decor items.
- Enjoy Your Freshly Painted Bedroom: Take a step back and enjoy your newly transformed space!
Bedroom Paint Ideas for Inspiration
Need some inspiration for your bedroom painting project? Here are a few bedroom paint ideas:
- Neutral Colors: Grays, beiges, and whites are timeless and versatile choices. They create a calming and relaxing atmosphere and work well with any decor style.
- Accent Walls: Paint one wall a bold color to create a focal point in the room.
- Two-Toned Walls: Paint the bottom half of the walls a darker color and the top half a lighter color.
- Geometric Patterns: Create a unique and modern look by painting geometric patterns on the walls.
- Ombre Walls: Create a gradient effect by blending different shades of the same color on the walls.
Interior Painting Guide: Tips and Tricks for Success
Here are some additional tips and tricks to help you achieve professional results:
- Work in a Well-Ventilated Area: Open windows and doors to provide adequate ventilation.
- Use a Paint Extender: Add a paint extender to your paint to slow down the drying time and reduce brush and roller marks.
- Don’t Overload Your Brush or Roller: Overloading your brush or roller can lead to drips and runs.
- Maintain a Wet Edge: Keeping a wet edge helps to blend each stroke seamlessly.
- Clean Up Spills Immediately: Wipe up any spills or drips immediately to prevent them from drying and becoming difficult to remove.
- Take Breaks: Painting can be tiring, so take breaks as needed to avoid making mistakes.
Table: Paint Sheen Comparison
| Sheen | Description | Durability | Best For |
|---|---|---|---|
| Matte | Flat, non-reflective finish | Low | Low-traffic areas, ceilings |
| Eggshell | Slight sheen | Medium | Bedrooms, living rooms |
| Satin | Higher sheen than eggshell | High | Kitchens, bathrooms |
| Semi-Gloss | Very durable, easy to clean | Very High | Trim, doors, cabinets |
| Gloss | Most durable, easiest to clean | Very High | Trim, accent pieces |
Frequently Asked Questions (FAQ)
- What is the best paint color for a small bedroom? Light colors like white, off-white, light gray, or pastel shades will make a small bedroom feel larger and brighter.
- Can I paint my bedroom without removing furniture? While it’s ideal to remove furniture, you can paint around it. Cover the furniture completely with drop cloths to protect it from paint splatters.
- Who should I hire if I don’t want to paint myself? If you don’t want to paint yourself, you can hire a professional painter or painting contractor. Get quotes from several different companies and check their references before hiring anyone.
- What are VOCs and why should I care? VOCs (Volatile Organic Compounds) are chemicals released into the air from some paints and other products. They can cause health problems, so it’s best to choose low-VOC or zero-VOC paints, especially for bedrooms.
- How long does it take to repaint a bedroom? The time it takes to repaint a bedroom depends on the size of the room, the condition of the walls, and your skill level. It typically takes 1-3 days to complete the project, including preparation, painting, and cleanup.
By following these tips and techniques, you can easily repaint your bedroom and achieve professional results. Enjoy your newly transformed space!
Hi, I’m Florence Disha, the creator behind HomesMend.com. With a passion for making every house a home, I share my personal experiences, tips, and expertise to help you transform your living spaces. Whether it’s practical advice, creative ideas, or tried-and-true solutions, my goal is to inspire and guide you in creating a home that feels just right. Let’s make every corner of your space truly yours!