Can I replace a bedroom door myself? Yes, replacing a bedroom door is a manageable DIY project for most homeowners. This guide provides a detailed, step-by-step process for a successful bedroom door installation.
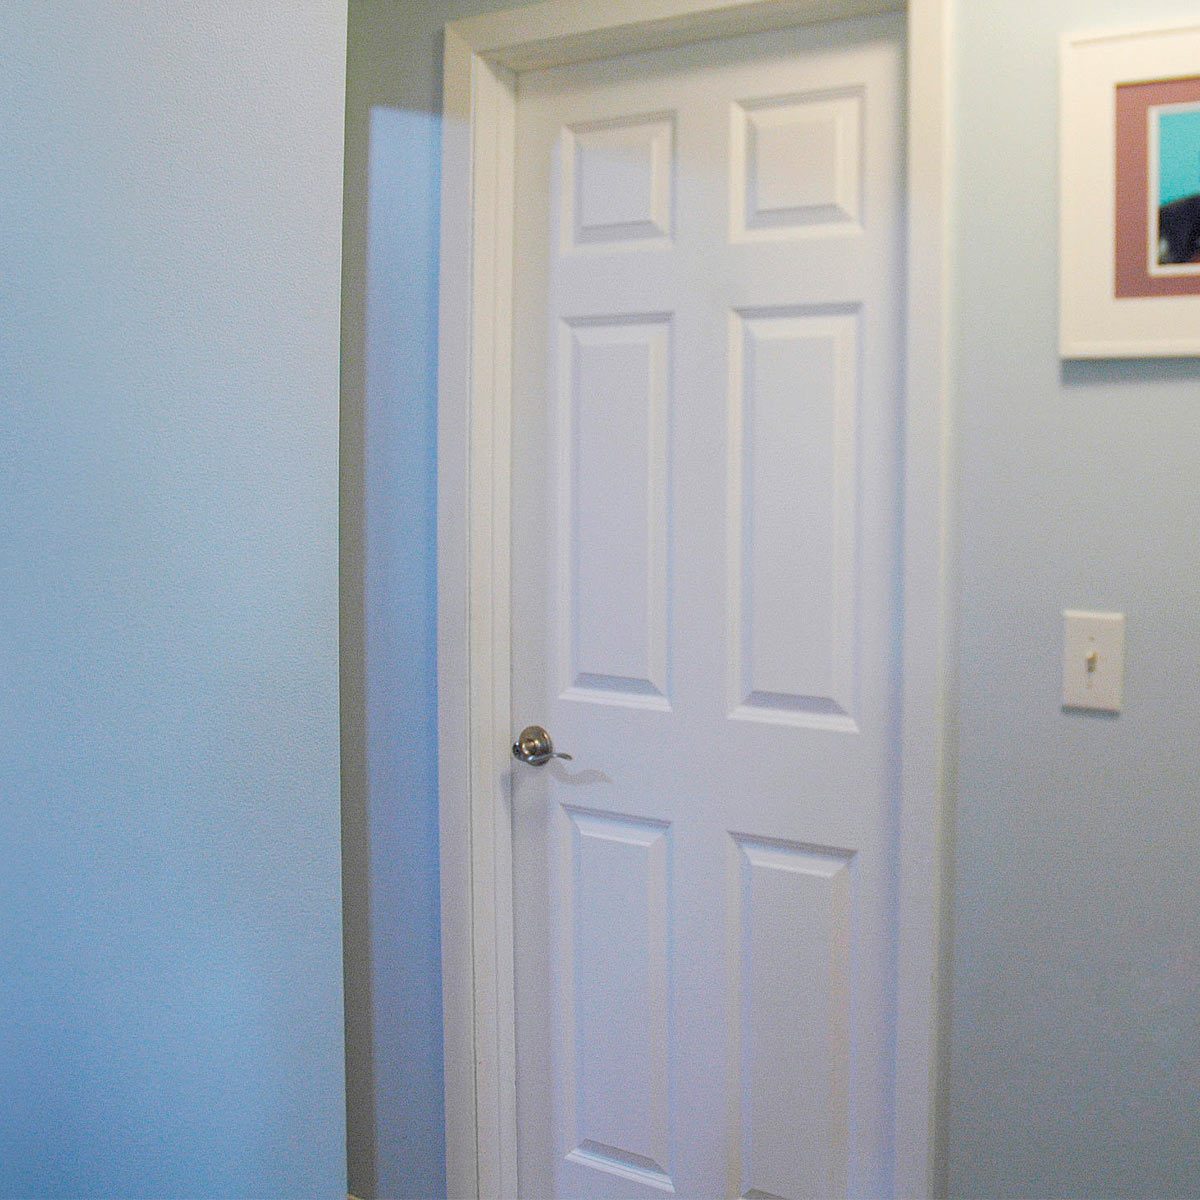
Image Source: www.familyhandyman.com
Is Door Replacement Right for You?
Before diving into bedroom door installation, let’s decide if it’s truly needed. Sometimes, repairs are enough.
- Sticking Doors: If the door sticks, try tightening hinges first. A loose screw could be the culprit.
- Damaged Door: Minor damage, like dents or scratches, can often be fixed with wood filler and paint.
- Warped Door: Severely warped doors might require replacement, especially if they affect security or energy efficiency.
- Aesthetic Upgrade: If you want a new look, replacing the door slab is a quick and easy solution, provided the existing frame is in good shape. This also impacts your bedroom door replacement cost.
Tools and Materials Needed for a Bedroom Door Installation
Gathering the right tools and materials beforehand will make the project smooth. Here’s what you’ll need for your DIY door replacement:
- New Door Slab: Choose a door slab that fits the size of your existing opening.
- Measuring Tape: Accurate measurements are crucial.
- Pencil: For marking measurements.
- Utility Knife: For scoring paint lines.
- Screwdriver or Drill with Bits: For removing and installing hardware.
- Level: Ensure the door is plumb.
- Chisel and Hammer: For mortising hinges and strike plates.
- Wood Shims: For aligning the door within the frame.
- Safety Glasses: Protect your eyes.
- Work Gloves: Protect your hands.
- Wood Filler (Optional): For repairing minor imperfections.
- Paint or Stain and Finishing Supplies: To match your decor.
- Door Hardware: Hinges, doorknob, and strike plate.
- Circular Saw or Hand Saw (Optional): For trimming the door if needed.
- Door Frame Replacement Materials (If Needed): Lumber, nails, screws.
- Construction Adhesive (If Needed):
Fathoming Bedroom Door Types
Before replacing your door, it helps to know the options. Different bedroom door types affect both aesthetics and function.
- Panel Doors: These are the most common. They have raised or recessed panels, available in many styles.
- Flush Doors: These doors have a smooth, flat surface. They are often hollow-core and are a cost-effective option.
- French Doors: These doors have glass panels and are typically used in pairs.
- Bifold Doors: These doors fold in sections and are often used for closets or tight spaces.
- Sliding Doors: These doors slide along a track and are great for saving space.
- Solid Core Doors: These doors are heavy and provide better sound insulation and security.
- Hollow Core Doors: These doors are lightweight and less expensive, suitable for interior use where soundproofing isn’t critical.
Step-by-Step: Replacing Interior Door Slab
This guide assumes your existing door frame is in good condition. If not, skip to the “Door Frame Replacement” section.
Step 1: Measuring the Existing Door
- Width: Measure the width of the door at the top, middle, and bottom. Use the largest measurement.
- Height: Measure the height of the door on both sides. Use the largest measurement.
- Thickness: Measure the thickness of the door. This is usually 1 3/8 inches for interior doors.
Step 2: Removing the Old Door
- Protect the Area: Place a drop cloth or old blanket beneath the door to protect the floor.
- Remove the Doorknob: Unscrew and remove the doorknob and any associated hardware.
- Loosen the Hinges: Use a screwdriver to loosen the screws on the top hinge first. This will help prevent the door from binding as you remove the other screws.
- Remove the Hinge Pins: Use a hammer and a nail set to gently tap out the hinge pins, working from the bottom up. You can also use a screwdriver and hammer.
- Remove the Door: Carefully lift the door away from the frame. You might need a helper for heavier doors.
Step 3: Preparing the New Door Slab
- Compare the New Door: Place the new door next to the old door. Ensure the new door matches the size of the old door.
- Mark Hinge Locations: Lay the old door on top of the new door. Trace the locations of the hinges.
- Mark Doorknob Location: Mark the location of the doorknob. Use a hole saw or drill to create the hole for the doorknob.
Step 4: Cutting Hinge Mortises on the New Door
- Score the Outline: Using a utility knife, score the outline of the hinge mortises on the new door. This prevents splintering.
- Chisel the Mortises: Use a chisel and hammer to carefully remove the wood within the scored lines, creating a shallow recess for the hinges. Aim for a depth that matches the thickness of the hinge.
- Test the Fit: Place the hinges in the mortises to ensure they fit flush with the door surface. Adjust as needed.
Step 5: Hanging the New Door
- Attach Hinges to the Door: Screw the hinges to the door, aligning them within the mortises.
- Position the Door: Carefully position the new door in the frame.
- Attach Hinges to the Frame: Align the hinges on the door with the hinge plates on the frame. Insert the hinge pins. Start with the top hinge.
- Check the Fit: Open and close the door to check for proper alignment. If the door binds or sticks, use wood shims to adjust the frame.
Step 6: Installing the Doorknob and Strike Plate
- Install the Doorknob: Follow the manufacturer’s instructions to install the doorknob.
- Mark the Strike Plate Location: Close the door and mark the location where the doorknob latch hits the frame.
- Install the Strike Plate: Chisel out a recess for the strike plate and screw it into place.
Step 7: Finishing Touches
- Fill Imperfections: Use wood filler to fill any nail holes or imperfections.
- Sand Smooth: Sand the filled areas smooth.
- Prime and Paint: Prime and paint the door to match your décor. Apply multiple coats for best results.
Door Frame Replacement: When and How
When is door frame replacement necessary? Door frame replacement is necessary when the existing frame is damaged, warped, or rotting.
Inspecting the Door Frame
- Rot: Check for soft or crumbling wood, especially near the bottom of the frame.
- Warping: A warped frame can cause the door to bind or not close properly.
- Damage: Cracks, splits, or other damage can compromise the structural integrity of the frame.
Removing the Old Door Frame
- Remove the Door: Remove the door as described earlier.
- Remove the Trim: Carefully remove the trim around the door frame using a pry bar. Score the paint line first with a utility knife to prevent damage to the wall.
- Cut the Frame: Use a reciprocating saw to cut the frame in several places. This makes it easier to remove.
- Remove the Frame Pieces: Pry out the frame pieces. Be careful not to damage the surrounding wall.
- Clean the Opening: Remove any nails, screws, or debris from the opening.
Installing the New Door Frame
- Assemble the Frame: Assemble the new door frame according to the manufacturer’s instructions.
- Position the Frame: Place the new frame into the opening.
- Level and Plumb: Use a level to ensure the frame is level and plumb.
- Secure the Frame: Shim the frame as needed to achieve perfect alignment. Then, screw the frame to the wall studs.
- Insulate: Fill the gap between the frame and the wall with insulation.
- Install Trim: Reinstall the trim around the door frame.
Door Hardware Installation: Knobs, Levers, and Hinges
Proper door hardware installation is essential for functionality and security. This includes door hardware installation of knobs, levers, and hinges.
Door Knob Installation
- Insert the Latch: Insert the latch into the hole on the edge of the door. Secure it with screws.
- Install the Knobs: Insert the knobs on both sides of the door, aligning them with the latch. Tighten the screws to secure the knobs.
- Install the Strike Plate: Chisel out a recess for the strike plate on the door frame. Screw the strike plate into place, aligning it with the latch.
Door Lever Installation
- Insert the Latch: Insert the latch into the hole on the edge of the door. Secure it with screws.
- Install the Levers: Insert the levers on both sides of the door, aligning them with the latch. Tighten the screws to secure the levers.
- Install the Strike Plate: Chisel out a recess for the strike plate on the door frame. Screw the strike plate into place, aligning it with the latch.
Hinge Installation
- Position the Hinges: Place the hinges in the mortises on the door and frame.
- Secure the Hinges: Screw the hinges into place, ensuring they are aligned properly.
Door Fitting Tips for a Perfect Fit
Getting the perfect fit requires attention to detail. Here are some door fitting tips:
- Accurate Measurements: Double-check all measurements before cutting or installing anything.
- Use Shims: Shims are your best friend for achieving perfect alignment.
- Check for Plumb and Level: Use a level frequently to ensure everything is straight.
- Test Fit: Before securing anything permanently, test fit the door to ensure it opens and closes smoothly.
- Don’t Force It: If something doesn’t fit, don’t force it. Recheck your measurements and make adjustments as needed.
Grasping Bedroom Door Replacement Cost
The bedroom door replacement cost can vary widely depending on several factors.
- Door Type: Solid wood doors are more expensive than hollow-core doors.
- Door Hardware: High-end doorknobs and hinges can add to the cost.
- Labor Costs: Hiring a professional will increase the cost, but it can save time and ensure a proper installation.
- Door Frame Replacement: Replacing the door frame will add to the overall cost.
- Finishing: Painting or staining the door will also add to the cost.
Here’s a general estimate:
| Item | Estimated Cost |
|---|---|
| Hollow-Core Door Slab | \$30 – \$100 |
| Solid-Core Door Slab | \$100 – \$300 |
| Solid Wood Door Slab | \$200 – \$800+ |
| Door Hardware (Knob/Hinges) | \$20 – \$100 |
| Door Frame Replacement | \$50 – \$200+ |
| Professional Installation | \$100 – \$500+ |
DIY Door Replacement: Is It Right for You?
Is DIY door replacement right for you? DIY door replacement is a good option if you have basic carpentry skills, patience, and the right tools.
Assessing Your Skills
- Carpentry Skills: Do you have experience with basic carpentry tasks like measuring, cutting, and using power tools?
- Time Commitment: Do you have the time to dedicate to this project? It can take several hours or even a full day to complete.
- Physical Ability: Replacing a door can be physically demanding.
When to Hire a Professional
- Complex Installations: If you are replacing a door frame or dealing with non-standard door sizes, it may be best to hire a professional.
- Lack of Experience: If you are not comfortable with carpentry tasks, hiring a professional can ensure a proper and safe installation.
- Time Constraints: If you are short on time, hiring a professional can save you valuable time and effort.
Frequently Asked Questions (FAQ)
What tools are essential for replacing a bedroom door?
Essential tools include a measuring tape, pencil, utility knife, screwdriver or drill, level, chisel, hammer, wood shims, safety glasses, and work gloves.
Swapping out a bedroom door is surprisingly swift, usually clocking in at a brisk 2-4 hours when your existing door frame is still sound. However, if the frame itself needs an overhaul, be prepared to add a few more hours to the project.
Can I replace a hollow-core door with a solid-core door?
Yes, but you may need to reinforce the door frame to support the heavier weight of the solid-core door.
How do I measure for a new door slab?
Measure the width, height, and thickness of the existing door. Use the largest measurements to ensure a proper fit.
What do I do if the new door is too big?
You can trim the door down to size using a circular saw or hand saw. Be sure to measure and mark carefully before cutting.
How do I prevent the door from sticking?
Ensure the door frame is plumb and level. Use wood shims to adjust the frame as needed.
What is a pre-hung door?
A pre-hung door comes already mounted in a frame, making installation easier. However, it is more expensive than just replacing the door slab.
By following these steps and tips, you can confidently tackle your bedroom door installation project and enhance the look and functionality of your home.
Hi, I’m Florence Disha, the creator behind HomesMend.com. With a passion for making every house a home, I share my personal experiences, tips, and expertise to help you transform your living spaces. Whether it’s practical advice, creative ideas, or tried-and-true solutions, my goal is to inspire and guide you in creating a home that feels just right. Let’s make every corner of your space truly yours!